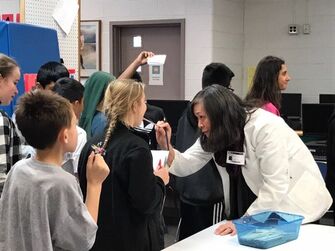
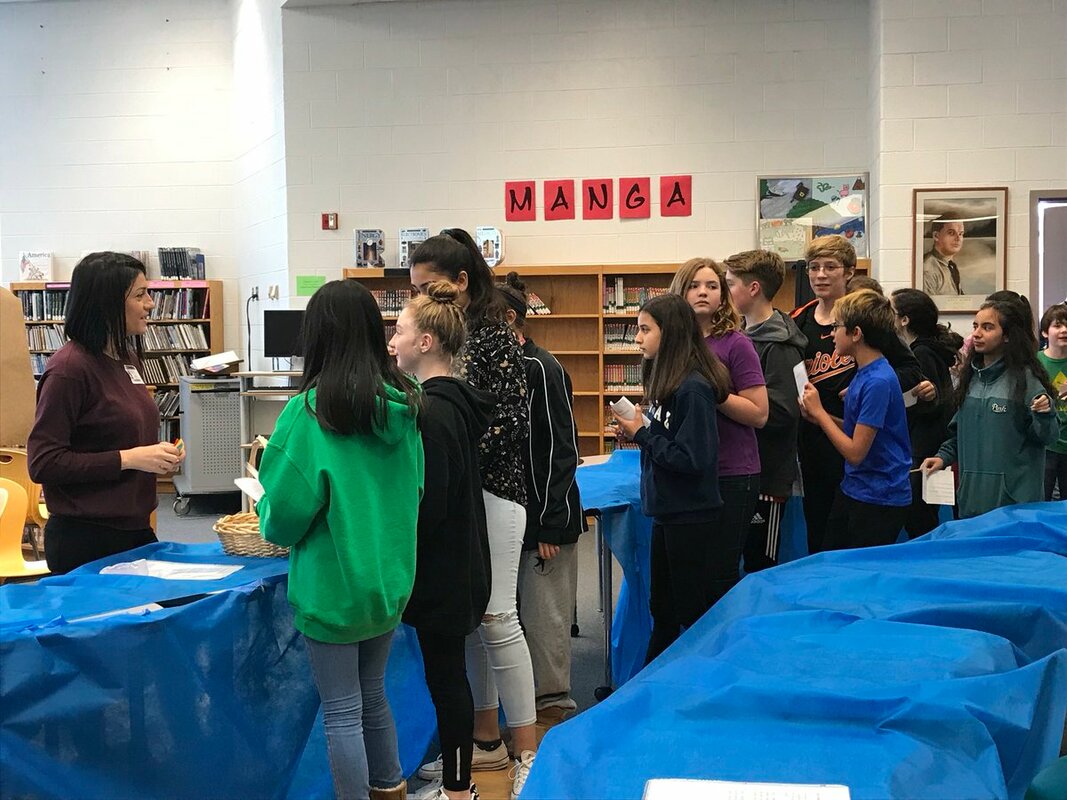
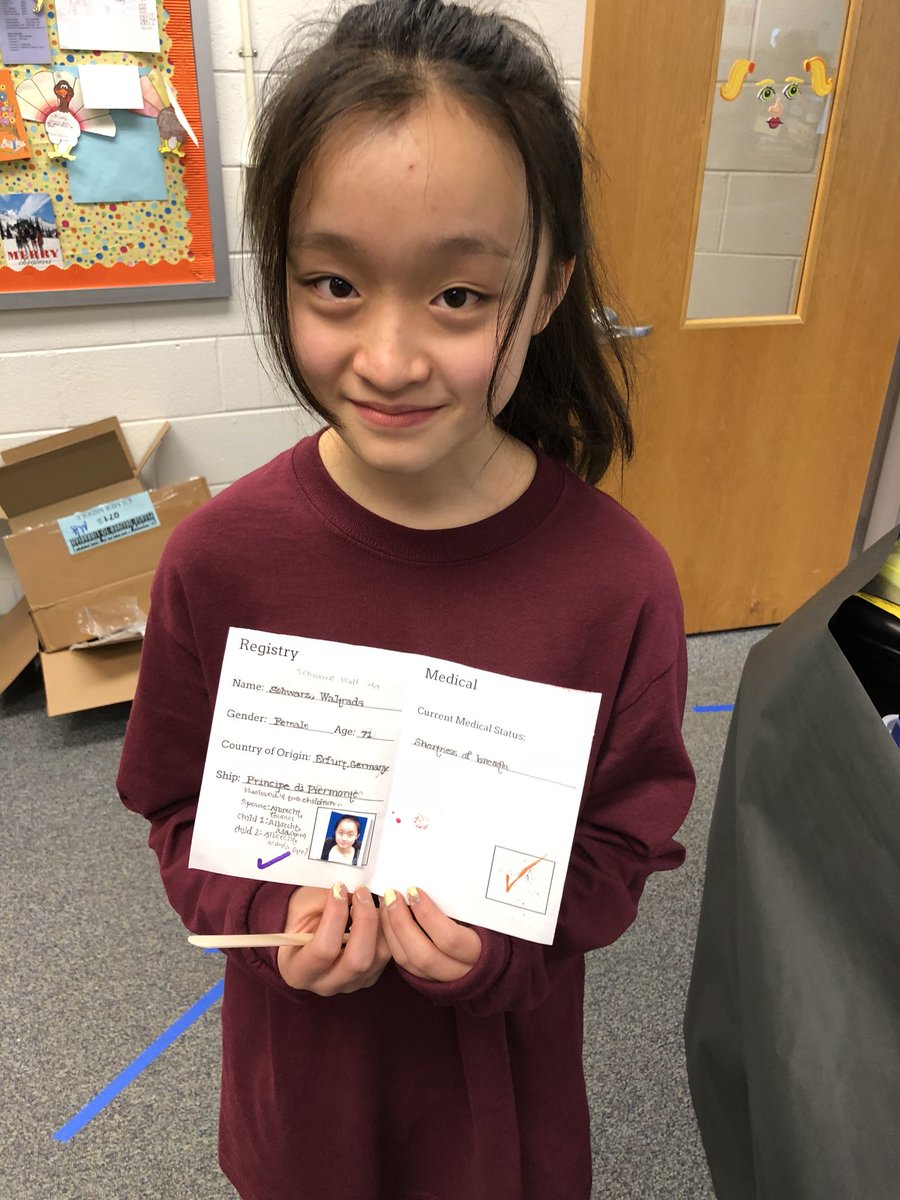
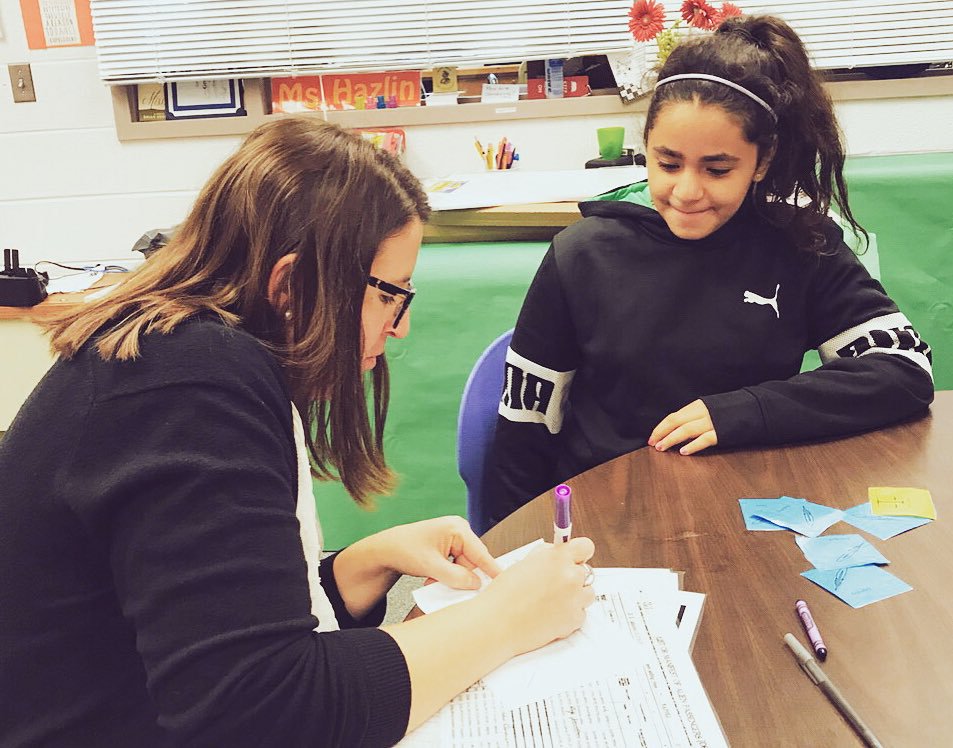
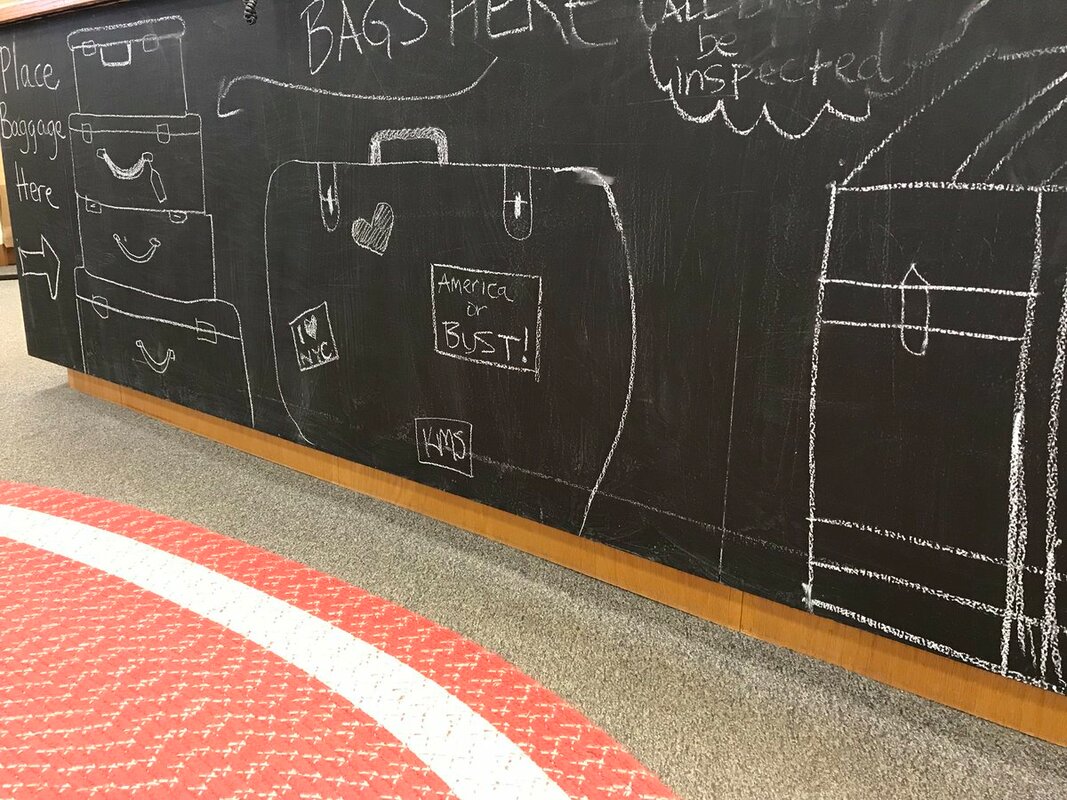
 Students are examined at Medical Stations during our Ellis Island Simulation. Students are examined at Medical Stations during our Ellis Island Simulation. A few years ago our History 7 team set out to create an Ellis Island Simulation for our students. The problem: the ones we found online were expensive or weren't what we were looking for. So, with the help of our amazing school librarians, we created our own -- now we want to share it with you and your students! This simulation helps kids develop a rich understanding of what it was like to be an immigrant passing through Ellis Island in the early 1900's. It's fun, interactive, and has become a tradition at our school. Sure, it takes time to set up, but it gets easier every year and from our perspective it's worth it. In this post, we'll talk you through things step by step, show you some photos, and at the end of the post you'll find all of the materials we use (passports, registries, reflection docs etc.) to make the simulation come alive. Let's set sail for Ellis Island! !What is the Ellis Island Simulation? This simulation consists of five basic stations. I'll describe each of them in detail below, but basically the kids travel through station one, the Entrance to Ellis Island, and then visit the next three stations: Legal Entry, Registry and Medical in any order before entering the Final Checkpoint, ending up either in Welcome to America or Deportation (depending on the student's fate as an immigrant). This all takes about 30 minutes from start to finish with a maximum of about 80 kids at a time. If you add more students, it will still work but lines will be longer at each station (which you could argue makes it even more realistic). Along their journey through the stations the students each carry a passport-like Certificate of Entry (filled in with information in class the day before. We use a slideshow to fill in the Certificates of Entry together step by step prior to Ellis Island. Kids roll dice with each slide to determine their background (including things like the ship they are traveling on, the country of origin, amount of money in their pockets, their professions, etc). The kids love the chance to be involved in creating their immigrant identities. Just remember that every teacher has to have student complete the passports before the simulation -- which means one copy of the passport per student and lots of dice. Station Descriptions Entrance to Ellis Island: We create the entrance out of wooden boards (we use extra library shelves) to resemble a gang plank. We play harbor sounds (waves and seagulls found on YouTube) and the Statue of Liberty greets the students upon arrival. We also line the entrance with blue fabric to emulate the ocean. Once they enter they are handed a color coded card that directs them to either Legal Entry, Registry or Medical. We hand out the cards to prevent the kids from bunching up into one station and making it overly crowded. 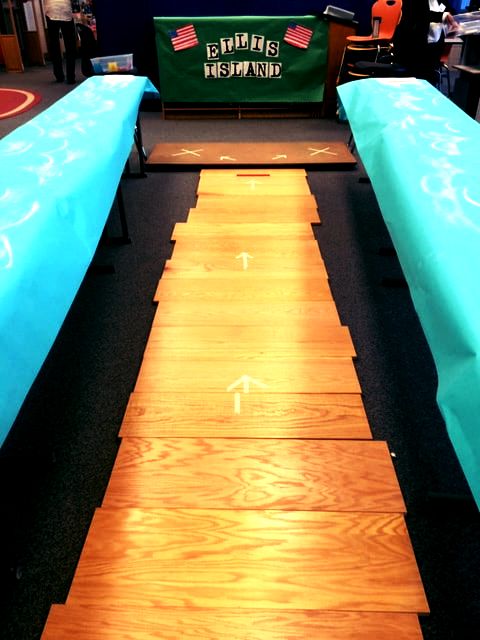 Students Enter Ellis Island through New York Harbor. Registry: At Registry parent and teacher volunteers greet students. I love to yell "Next!" with a frustrated look on my face, examine their passports and pretend to check information off of copies of ship manifests (we use copies of real ones from Ellis Island). Sometimes the Registry agent might simplify a student's name to "Americanize" it as they did at Ellis Island. We do this randomly. Once the student has answered a few questions about where they are traveling from, with whom, and what vessel they arrived on we send them along to Legal Entry or Medical. (This station usually has two/three volunteers). Oh, and we give the students a purple check mark to note that they have passed that station. If something doesn't add up (we give an orange check mark). Be very careful about giving out an orange check mark as you don't want too many students to be sent back to their home countries. Medical: At the Medical Station, students are met by volunteers wearing white lab coats (we borrow ours from our science department). The students stand in a line and use tongue depressors to say "Ahhhh!" Additionally, the doctors make the students bend over and touch their toes to check for spinal issues, hold their hands out while checking for rashes and other skin conditions, and then walk forward and backwards. If they deem the student sick they might place them in quarantine for a little while. We just have some chairs right off of the medical center for this purpose or if they want to pretend that the immigrant has an illness they can mark the medical portion of their passport with an orange X. A purple X is a pass. Once the medical examination is complete the volunteers send the students to the next station - either Legal Entry or Registry. Legal Entry: We use a counter (library shelf) for our legal entry station and usually have three to four teacher or parent volunteers at this station. Here, the examiners ask immigrants all kinds of questions about their plans - where they are headed, why they are going their, what their skills are, who they are traveling with etc. Again, if the examiners feel the students answered the questions well, they receive a purple check or X and an orange if they are not confident that the student should be headed to the US. 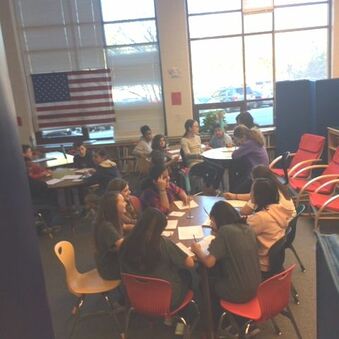 Students write their postcards at the Welcome to America! station. Students write their postcards at the Welcome to America! station. Final Checkpoint: Welcome to America or Deportation! Our Final Checkpoint is usually manned by one or two volunteers. The volunteers review the passports for a final time. If an immigrant has three purple marks they typically move into Welcome to America! At this final station we decorate with American Flags and students fill out a postcard to their families at home explaining their experience at Ellis Island. I use this as an assessment (and explain to the students that their postcards should describe the steps they went through at Ellis Island). Students who have an orange mark on their passport are sent to Deportation. This is a room adjacent to Welcome to America. And by room, I mean that we create walls with gym mats that we borrow from PE so that we can section things off into different areas. In Deportation, students are told that they will be heading home on the next ship and they write a postcard explaining the Ellis Island steps to their families and let them know that they are headed back home soon. Again, the students know that I will use this postcard to assess their understanding of the content. 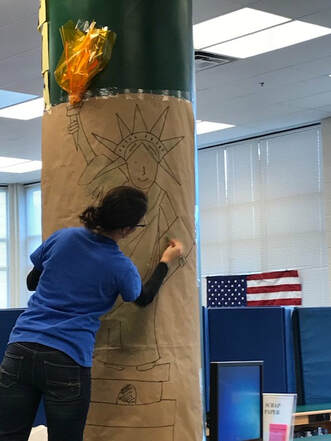 Putting the final touches on the Statue of Liberty. Putting the final touches on the Statue of Liberty. Costumes and Other Details: We typically have our Ellis Island Staff wear badges and black pants and white tops to make things more official. We also use SignUp Genius to recruit parent volunteers for all of our different class periods. We typically do this several weeks in advance. While we are a middle school, this simulation could be done at an elementary level and I also think that at the elementary level that you might get kids to wear costumes (based on photographs of Ellis Island immigrants). I also have seen an awesome suitcase project where kids plan what they would bring with them if they were immigrating to a new country. It would be fun to have students carrying their suitcases and their passports. But I don't think that we could get away with it in middle school. They like it when their teachers wear costumes and carry props, but them -- not so much. Oh, and we have this set up down to a science -- it takes us about two hours in total - but that includes putting up gym mat walls and covering bookshelves in our library with craft paper. Lastly, parents love volunteering. They need about five minutes of instructions and then they are ready to go! We've gotten great feedback from our parent volunteers. That said, if you work in a school community where parents have difficulty finding the time to volunteer, we think you could pull this off with teacher/admin volunteers (during their off periods). It takes a village! From Passports to Postcards Here are PDFs of the documents we use. Have at 'em! Even if they aren't exactly what you are looking for hopefully they can give you a jump start in creating your own.
What are you favorite simulations? If you try ours, let us know what you think. We'd love to hear from you. After all, when teachers share great ideas BubbleUp! -Corey You might also like:
2 Comments
Laura
2/2/2020 03:15:27 pm
Thank you so much for sharing this! Looks like a fun day!
David Groce
2/14/2020 02:50:10 pm
Thanks! Your comment will be posted after it is approved.
Leave a Reply. |
Who We Are

Join our list!Archives
September 2020
Categories
All
|


 RSS Feed
Proudly powered by Weebly